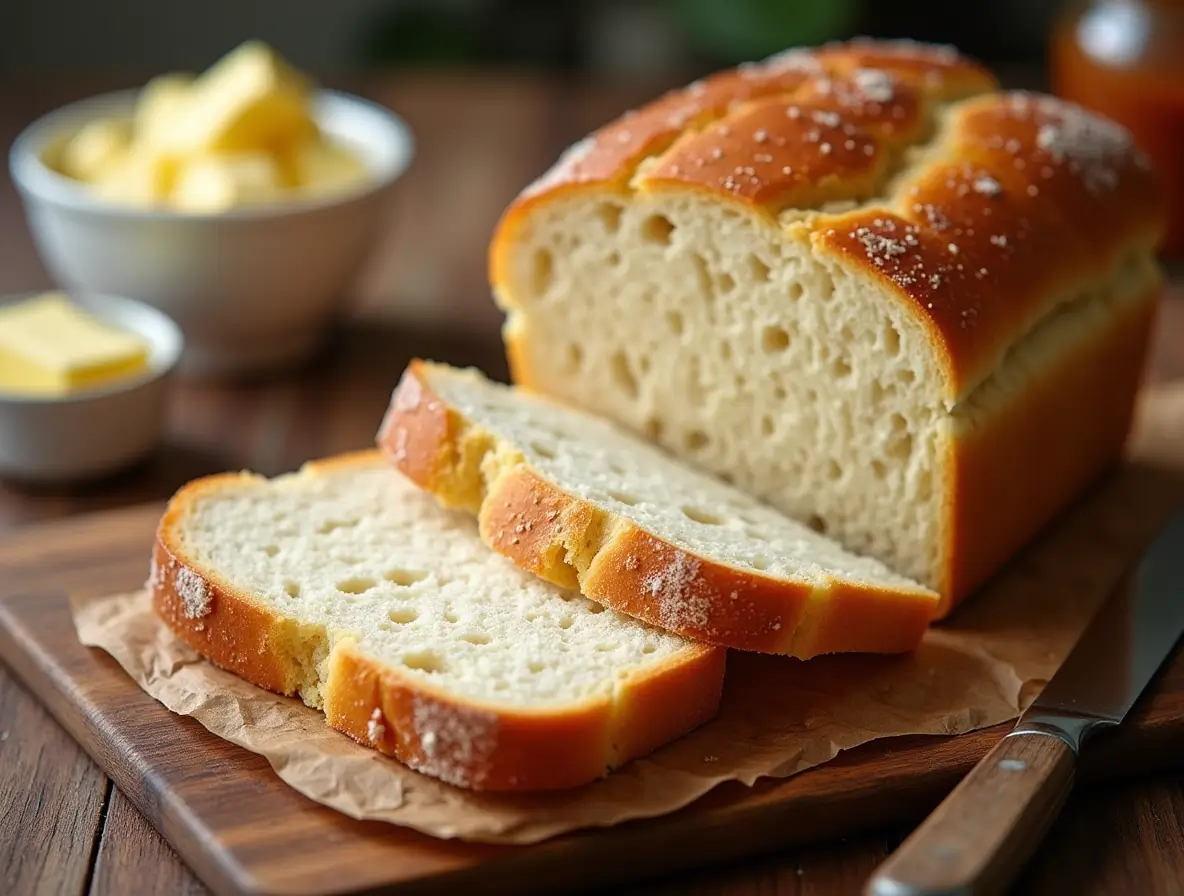
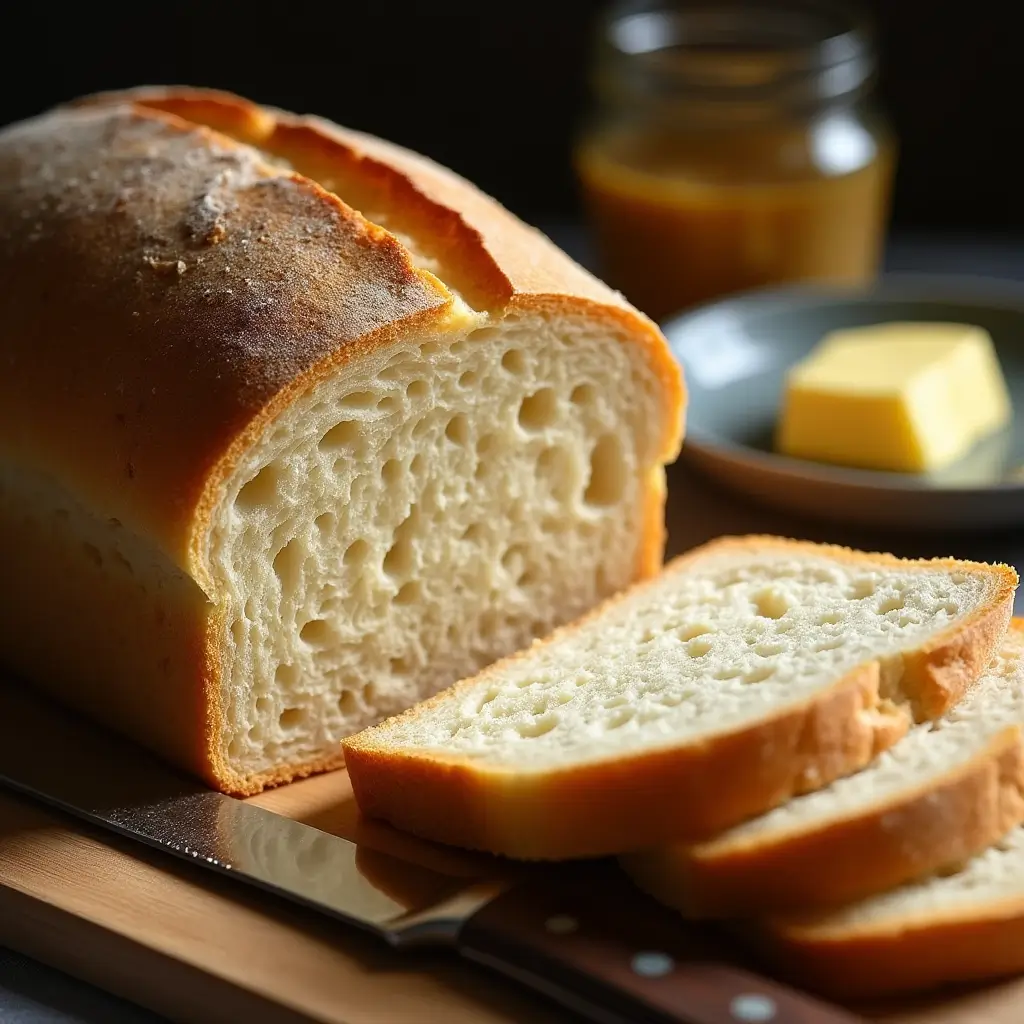
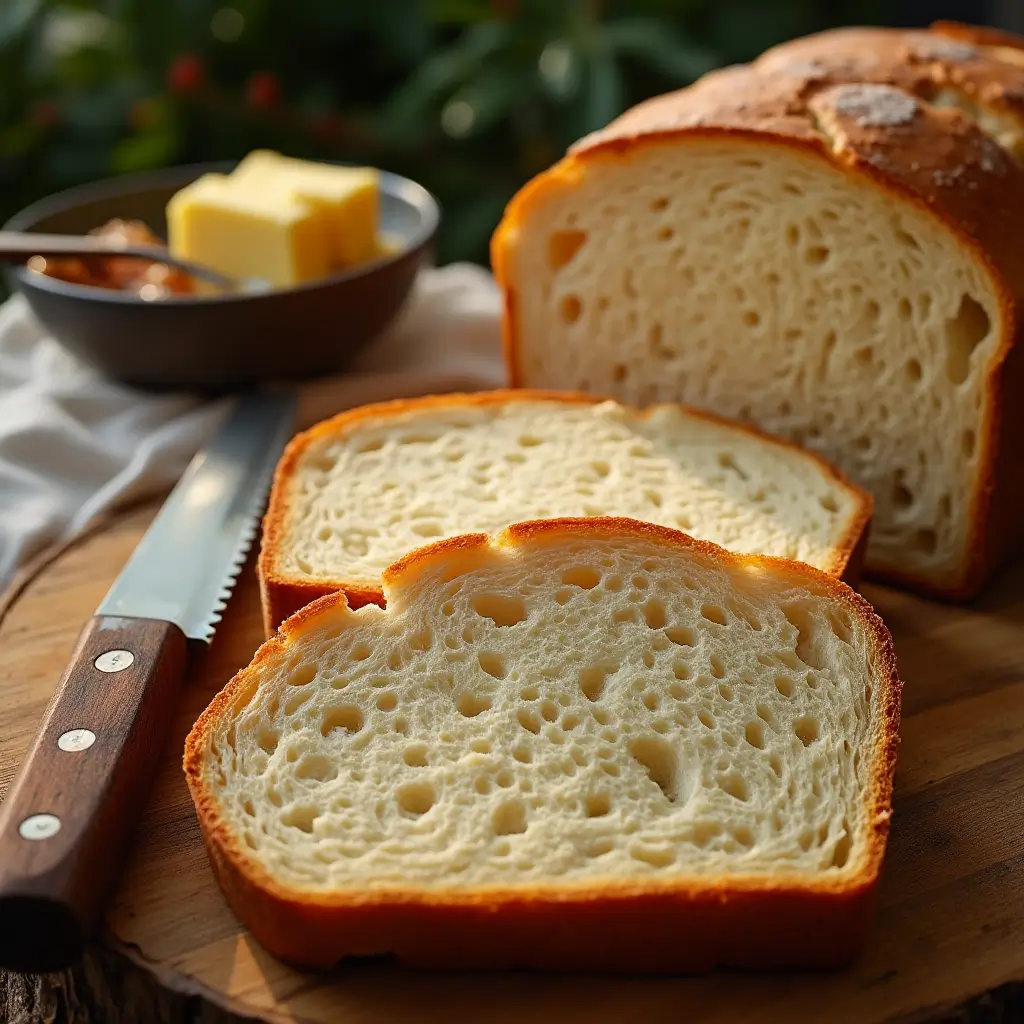
This sandwich bread recipe isn’t just another recipe – it’s your new go-to guide for creating bakery-quality sandwich bread with remarkable consistency. Whether you’re spreading it with butter and jam for breakfast, stacking it with your favorite sandwich fillings for lunch, or serving it alongside a hearty soup for dinner, this versatile loaf will elevate every meal.
As someone who has tested and refined this recipe through countless batches, I can confidently say that this method produces the ideal sandwich bread: soft enough to bite through easily, but sturdy enough to hold your heartiest fillings without falling apart. Plus, you’ll skip all the preservatives and mystery ingredients found in store-bought varieties.
In this comprehensive guide, you’ll find everything you need to succeed – from detailed ingredient explanations and step-by-step instructions to troubleshooting tips and storage advice. Let’s start baking!
Table of Contents
Why This Sandwich Bread Recipe Works (The Secret to Softness!)
What makes this sandwich bread recipe stand out from the rest? It’s all about understanding the science behind a perfectly soft loaf:
Perfect Ingredient Ratios: This recipe balances flour, liquid, fat, and sugar in precise proportions. The moderate amount of fat and sugar creates tenderness without becoming cake-like, while providing just enough food for the yeast to create a beautiful rise.
The Right Flour Choice: While you can use all-purpose flour, bread flour gives superior results for sandwich bread. Its higher protein content (typically 12-14% versus 10-12% in all-purpose) develops stronger gluten networks, providing better structure and that perfect soft, chewy texture we associate with great sandwich bread.
Enrichment Elements: Unlike artisan breads that contain just flour, water, salt, and yeast, this sandwich bread is “enriched” with milk, butter, and sugar. The fat from milk and butter tenderizes the crumb by interfering with gluten formation (preventing toughness), while the sugar feeds the yeast and helps create a softer crust by retaining moisture.
Proper Kneading Technique: Kneading develops the gluten structure that traps air bubbles, creating that desired fine, even crumb. The technique and timing in this recipe have been calibrated for the perfect balance – enough to develop structure without overworking the dough.
Strategic Proofing: Two carefully timed rising periods allow the yeast to create flavors through fermentation while developing the perfect texture. The second rise in the loaf pan is what determines the signature sandwich bread shape.
Essential Ingredients You’ll Need
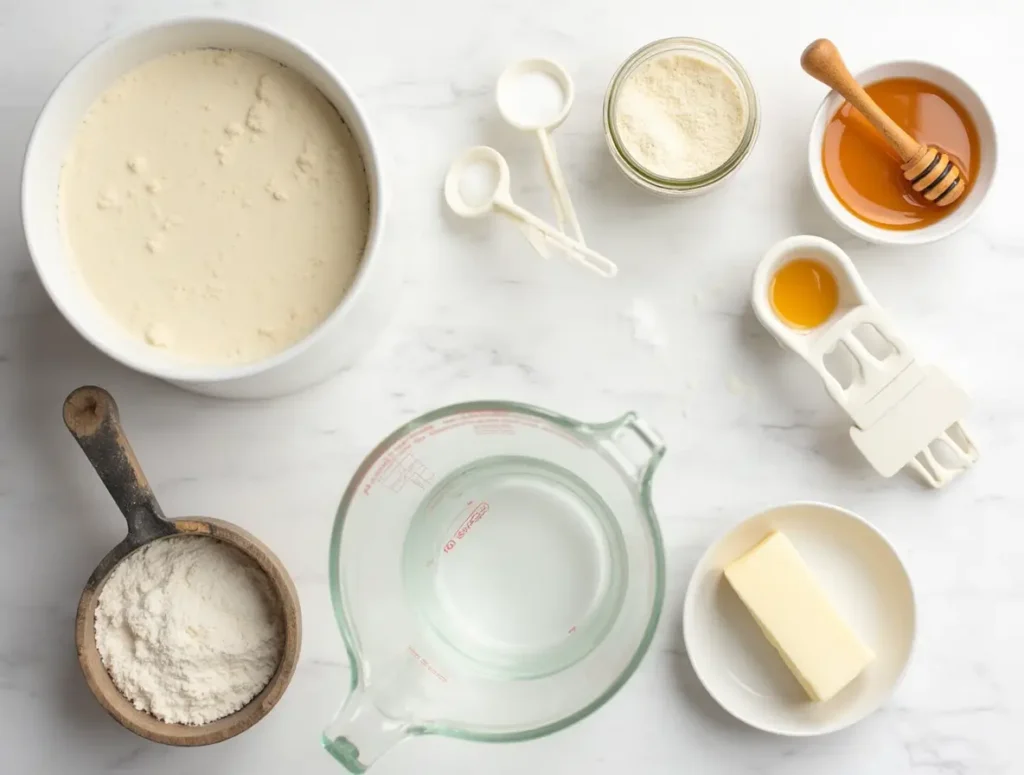
For one perfect 9×5-inch loaf of sandwich bread:
- 3½ cups (440g) bread flour – Provides structure and chewiness; all-purpose flour can substitute but may yield a slightly less structured loaf
- 2¼ teaspoons (7g) active dry yeast OR 2 teaspoons instant yeast – The leavening agent that creates rise and flavor
- 1¼ cups (300ml) whole milk – Creates a tender crumb; warmed to 105-110°F for active dry yeast
- 3 tablespoons (42g) unsalted butter, melted – Adds richness and softness
- 2 tablespoons (25g) of granulated sugar – Feeds yeast and enhances tenderness and browning
- 1½ teaspoons (9g) salt – Enhances flavor and controls yeast activity
- 1 tablespoon neutral oil – For greasing the bowl during rising
Each ingredient plays a vital role in the final loaf. The milk provides protein and fat for tenderness, while the sugar feeds the yeast and helps create a golden crust. Butter adds richness, and salt not only enhances flavor but also helps control yeast activity for proper fermentation.
Necessary Baking Equipment
To make a successful sandwich bread recipe, you’ll need:
- Large mixing bowl – For combining ingredients and initial proofing
- Stand mixer with dough hook attachment (optional but helpful) – Makes kneading easier
- Measuring cups and spoons or you can use a kitchen scale (very recommended for accuracy)
- Bench scraper – Helps handle dough without it sticking to your hands
- 9×5-inch loaf pan – Creates the classic sandwich bread shape
- Plastic wrap or clean kitchen towel – For covering dough during rising
- Wire cooling rack – Essential for proper cooling
- Instant-read thermometer (optional but helpful) – The most accurate way to check doneness
While you can mix and knead this dough by hand, a stand mixer makes the process much easier. If you’re measuring by volume rather than weight, always remember to spoon flour into measuring cups and level off with a knife rather than scooping directly with the measuring cup, which can compact flour and lead to too much being used.
How to Make Perfect Sandwich Bread: Step-by-Step Guide
Step 1: Activate the Yeast (If you’re using Active Dry)
- Warm the milk to 105-110°F (40-43°C). It should feel warm if you touch it but not too hot.
- Pour ¼ cup of the warm milk into a small bowl and stir in 1 teaspoon of the sugar.
- Sprinkle the active and dry yeast over the surface and let it sit for 5-10 minutes.
- Watch it till it becomes foamy and bubbly – this indicates the yeast is alive and active.
If your yeast doesn’t foam after 10 minutes, it may be dead. Start over with fresh yeast to avoid wasting ingredients on bread that won’t rise.
Note: If you’re using instant yeast, you can skip this step and add the yeast directly to the dry ingredients in the next step. Just make sure to warm all the milk.
Step 2: Combine the Dough Ingredients
- In a bowl of a stand mixer fitted with the dough hook (or large mixing bowl if working by hand), combine the bread flour, remaining sugar, and salt. Mix briefly.
- If you’re using instant yeast, you can add it to the dry ingredients now.
- Add the foamy yeast mixture (or all the warm milk if using instant yeast), remaining warm milk, and melted butter.
- Mix it on low speed (or stir it with a wooden spoon) until a shaggy dough forms and no dry flour remains.
The dough will look rough and uneven at this stage – that’s perfectly normal! It should be soft and slightly sticky but not excessively wet.
Step 3: Knead the Dough (Crucial for Texture!)
Stand Mixer Method:
- Increase speed to medium-low (speed 2-3 on most mixers).
- Knead for 8-10 minutes until the dough becomes smooth, elastic, and pulls away from the sides of the bowl (it may still stick slightly to the bottom).
- The dough should pass the “windowpane test first” – you can take a small piece and stretch it between your fingers. It should stretch thin enough for you to see light going through without tearing immediately.
By Hand Method:
- Place your dough out onto a lightly floured surface.
- Knead it by folding the dough over itself, pushing away with the heel of your hand, rotating, and repeating.
- Continue for 10 to 15 minutes until the dough becomes smooth and elastic.
- Try not to add too much extra flour during kneading – a slightly tacky dough will yield a moister loaf.
Why Kneading Matters: Kneading develops gluten, the protein network that traps air bubbles created by the yeast. Without proper gluten development, your bread will be dense and heavy rather than light and fluffy.
Tip: The dough is properly kneaded when it feels smooth and springs back slowly when poked with a finger.
Step 4: First Rise (Bulk Fermentation)
- Lightly oil a large bowl with the neutral oil.
- Form the dough into a ball and place it in your oiled bowl you just prepared, turning once to coat both sides.
- Cover it with some plastic wrap or a damp kitchen towel.
- Place it in a warm, draft-free spot (75-85°F is ideal) until it is doubled in size, about 1-1½ hours.
Visual Cue: The dough should double in its volume and look puffy. When you gently poke it with a finger, the indentation should remain visible but slowly start to fill back in its original shape.
Tip: You can create an ideal proofing environment by turning your oven light on (but not the oven itself) and placing the covered dough inside the oven. The light bulb generates just enough warmth.
Step 5: Shape the Loaf
- Lightly grease your loaf pan.
- Once the dough has doubled, gently punch it down to release excess air bubbles.
- Turn it out onto a lightly floured surface.
- Pat the dough into a roughly 9×12-inch rectangle with the long side facing you.
- Starting from the short end furthest from you, tightly roll the dough into a cylinder, pressing the seam with your fingertips after each roll.
- When completely rolled, pinch the final seam tightly to seal, and pinch the ends as well.
- Place your shaped loaf seam-side down in the pan prepared earlier.
Why Shaping Matters: Proper shaping creates surface tension in the dough, which helps it rise upward rather than outward. The tight rolling technique also prevents large air pockets that can create holes in your sandwich bread.
Tip: Make sure to seal the seam well – a poorly sealed seam can cause the loaf to split during baking.
Step 6: Second Rise (Proofing)
- Cover the loaf pan loosely with some plastic wrap or with a damp kitchen towel.
- Return to your warm, draft-free spot.
- Let the dough rise until it crests 1-1½ inches above the rim of the pan, about 45-60 minutes.
Visual Cue: The dough should noticeably look puffy and rise above the pan’s edge.
Tip: Perform the “poke test” to check if proofing is complete – gently poke the dough with a floured finger about ½-inch deep. If the indentation fills back slowly and incompletely, the dough is ready to bake. If it springs back quickly and completely, it needs more time. If the dough deflates or the indentation doesn’t fill back at all, it’s over-proofed.
Step 7: Bake the Bread
- Preheat your oven to 350°F (175°C), about 20 minutes before baking.
- Optional: For a shinier crust, your can brush the top of the loaf gently with milk or beaten egg white.
- Bake in the preheated oven for 30-35 minutes.
- You can tell the bread is done when it’s golden brown and sounds hollow when tapped on the bottom.
Crucial Tip: For absolute certainty, use an instant-read thermometer inserted into the center of the loaf. The internal temperature should read 190-200°F (88-93°C).
Tip: If the top is browning too quickly, tent the loaf with some aluminum foil for the remaining time of the baking time.
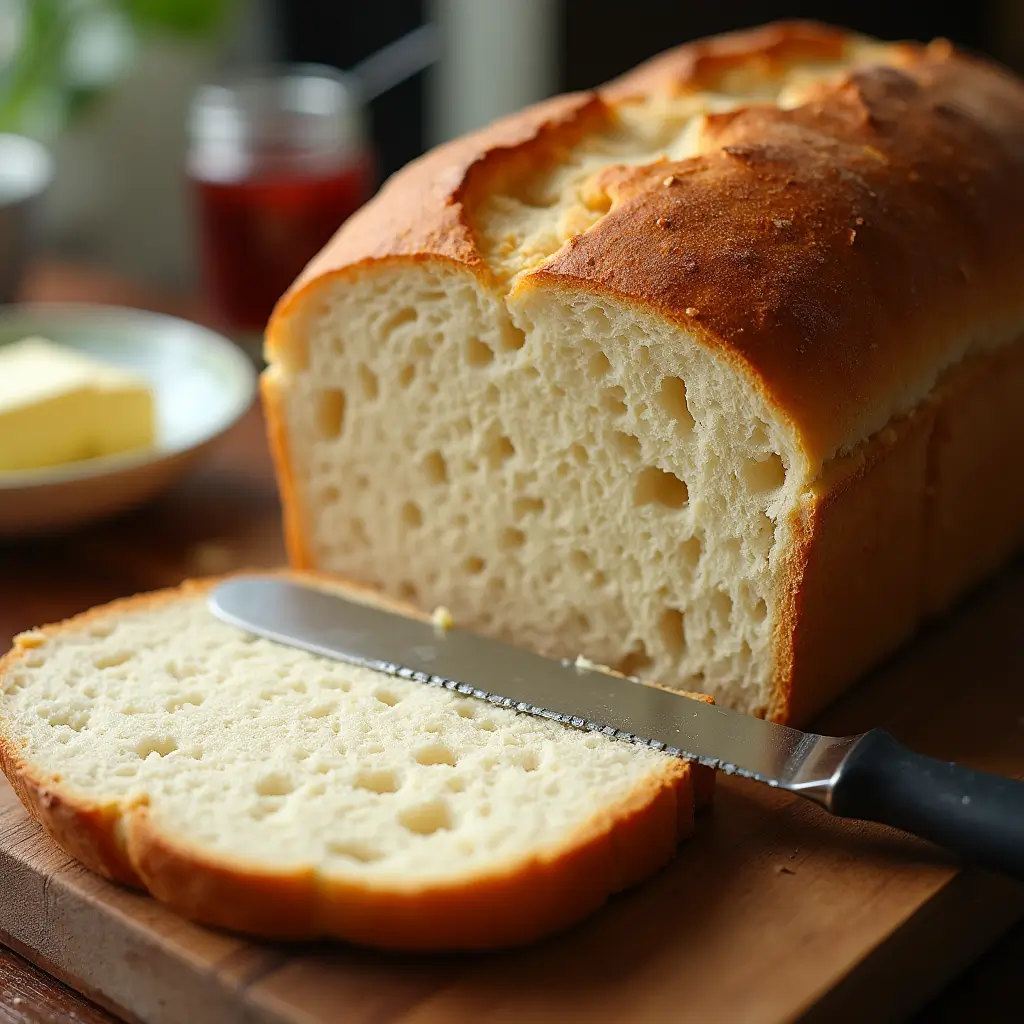
Step 8: Cool Completely
- Remove the bread from the oven and let it rest in the pan for just 5 minutes.
- Turn out onto a wire cooling rack.
- Allow the loaf to cool down completely before slicing, at least 1-2 hours.
Why Cooling Matters: This step is surprisingly crucial! The bread continues to cook internally as it cools, setting the structure and allowing moisture to distribute evenly. Cutting too soon can result in a gummy texture and crushed slices.
Troubleshooting Common Sandwich Bread Problems
Problem: Bread is Dense/Didn’t Rise Much
- Possible Causes: Inactive yeast, liquid too hot/cold, insufficient kneading, not enough rising time, environment too cold.
- Solutions: Test yeast freshness before using, use a thermometer to check liquid temperature, ensure proper kneading time, allow for longer rising in cold environments.
Problem: Bread Collapsed After Baking
- Possible Causes: Over-proofed dough, too much liquid in recipe, oven not hot enough.
- Solutions: Watch proofing times carefully, use the poke test, ensure accurate measurements, check oven temperature with an oven thermometer.
Problem: Crust is Too Hard/Thick
- Possible Causes: Oven too hot, baked too long, too much flour added during kneading.
- Solutions: Verify oven temperature, use thermometer for doneness, brush with melted butter immediately after baking for a softer crust.
Problem: Gummy Texture Inside
- Possible Causes: Under-baked, cut while too hot, too much liquid in recipe.
- Solutions: Use thermometer to verify doneness, cool completely before slicing, ensure accurate measurements.
Variations and Substitutions
Want to customize your sandwich bread recipe? Here are some tested variations:
Whole Wheat Option: Replace up to 50% of the bread flour with some whole wheat flour. You may need to add 1-2 extra tablespoons of milk as whole wheat flour absorbs more liquid.
Sweetener Alternatives: Replace the granulated sugar with 2 tablespoons honey or maple syrup for a different flavor profile. Add to the wet ingredients.
Dairy-Free Version: Substitute the whole milk with unsweetened almond milk, soy milk, or oat milk. Replace butter with the same amount of neutral oil like canola or avocado oil.
Add-Ins: For variety, try adding:
- Sesame or poppy seeds sprinkled on top before baking (brush with egg wash first to help them stick)
- 1 tablespoon of dried herbs like rosemary or thyme mixed into the dough
- ¼ cup of sunflower or pumpkin seeds kneaded into the dough
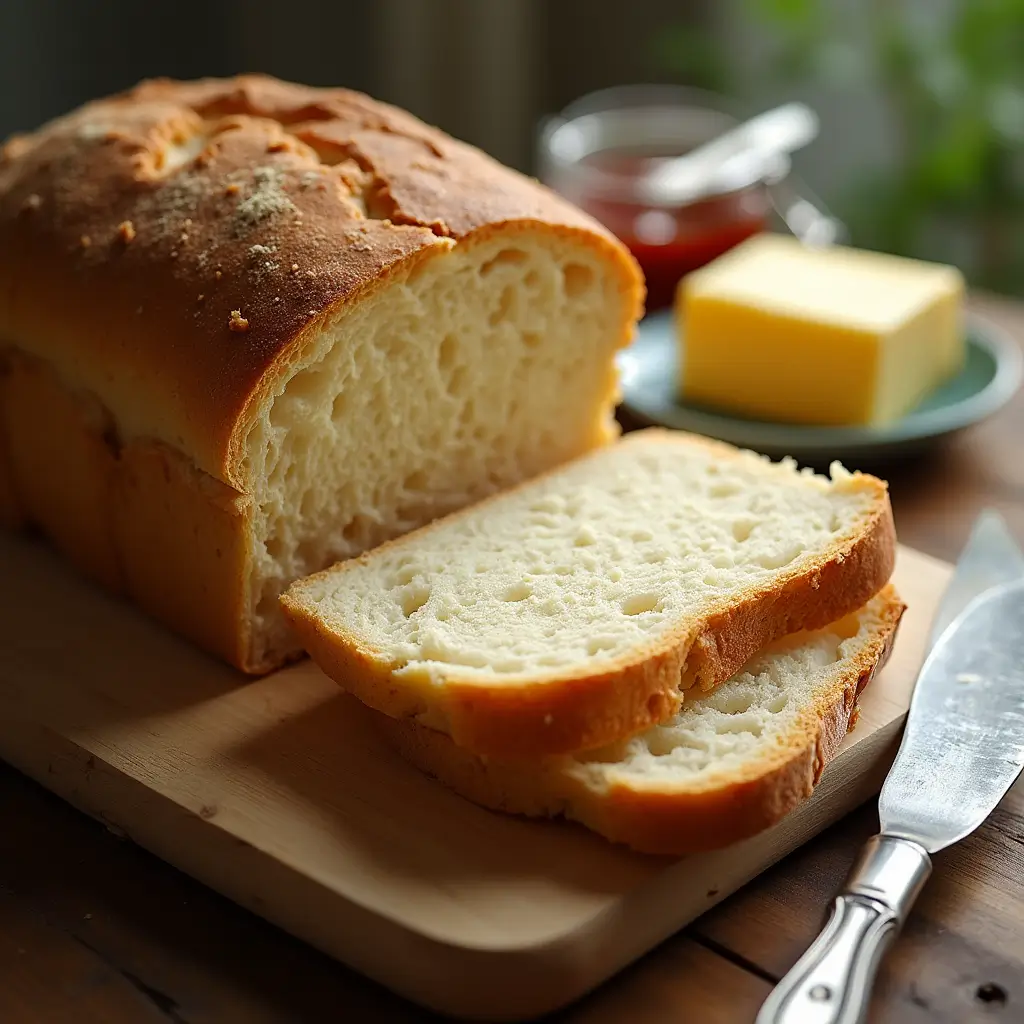
How to Store Homemade Sandwich Bread
Room Temperature (2-3 days):
- Cool completely before storing
- Wrap in a clean kitchen towel or paper bag, then place in a bread box
- Avoid airtight plastic bags initially as they can make the crust soggy
Freezing (up to 3 months):
- Cool completely
- Slice the entire loaf (easier to take out individual portions)
- Wrap tightly in plastic wrap, then aluminum foil
- Place it in a freezer bag with the air completely pressed out
- To thaw: Leave slices at room temperature for 30 minutes or toast from frozen
Refreshing Day-Old Bread:
- Sprinkle the slices with a little water and heat them in a 300°F oven for 5-10 minutes
- Or toast individual slices to revive their texture
Sandwich Bread FAQs
Can I use All-Purpose flour instead of Bread Flour?
Yes! Your bread will still turn out well, though it may have a slightly less chewy texture and might not rise quite as high. If using all-purpose, you might need slightly less liquid (start with 2 tablespoons less and adjust as needed).
Can you make this recipe without a stand mixer?
Absolutely! Follow the by-hand kneading instructions. It will take a bit more effort and time (about 12-15 minutes of kneading), but many bakers prefer the tactile connection of hand-kneading.
How do I know if my yeast is still good?
Before using yeast that’s been in your pantry for a while, proof it by mixing with warm water (105-110°F) and a pinch of sugar. If it doesn’t foam within 10 minutes, it’s no longer active and should be replaced.
What’s the best way to slice homemade bread?
Wait until the bread is completely cool. Use a sharp serrated bread knife with a gentle sawing motion to avoid crushing the loaf.
My bread rose beautifully but deflated when I put it in the oven. What happened?
This typically indicates over-proofing. Next time, shorten the second rise time and use the poke test to determine when the dough is ready for baking.
With this foolproof sandwich bread recipe in your repertoire, you’re well on your way to becoming the bread baker you’ve always wanted to be. Each loaf gets easier, and soon you’ll be making this recipe from memory.
Have you tried this sandwich bread recipe? Let me know in the comments how this turned out for you or if you have any questions! And if you’re looking for more homemade bread recipes, check out my Baking Recipes Section next!